


Despite the base coat being only a slightly less white, a great difference is visible between Kanu and Ryomou's first layer of clear skin.
 |
| Kanu Unchou |
 |
| Choun Shiryu |
| Ryomou Shimei |
Shading is applied and the final coat of clear skin is done.

The difference between the three base coats is very visible after the final coat of clear skin is applied.
 |
| Kanu Unchou |
 |
| Choun Shiryu |
| Ryomou Shimei |


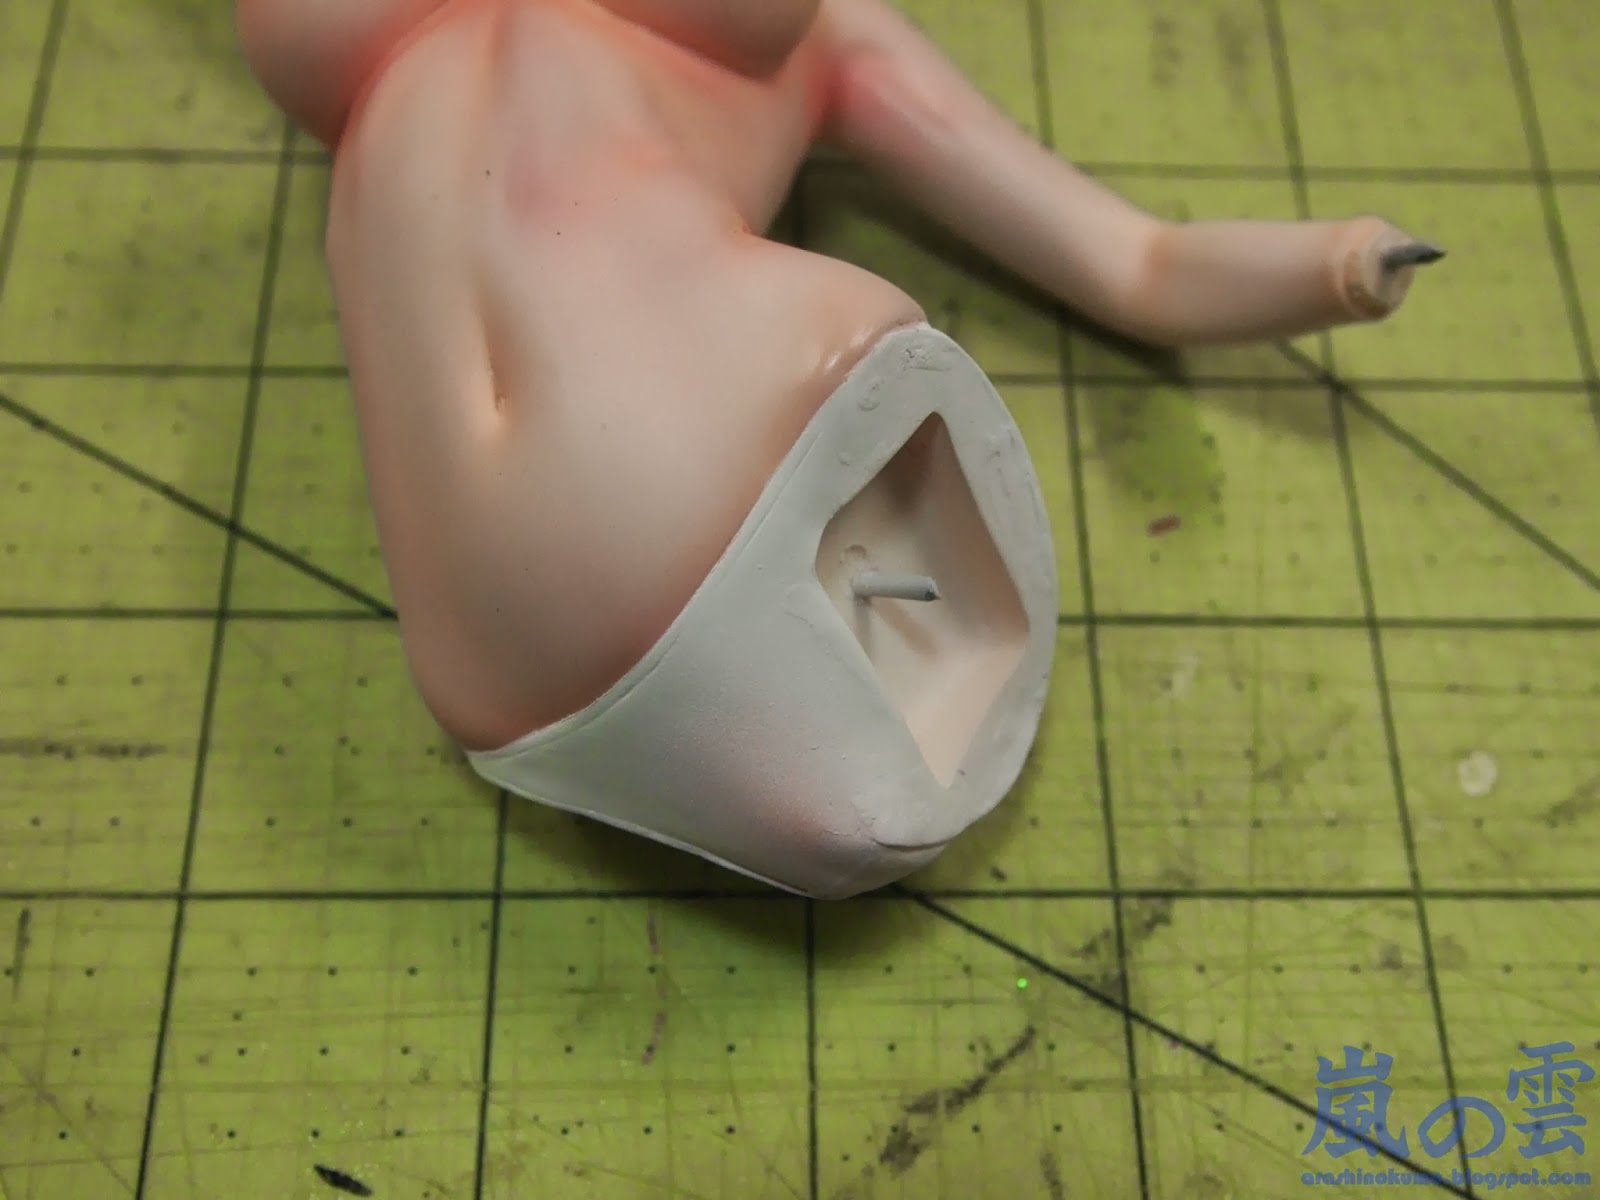
With the skin now completely dry, I can now color her panties.

Next is the katana and it's scabbard. I use gloss black for all the pieces then apply a light mist of silver on the hand guard and a heavy coat of silver on the blade to make it more metallic.


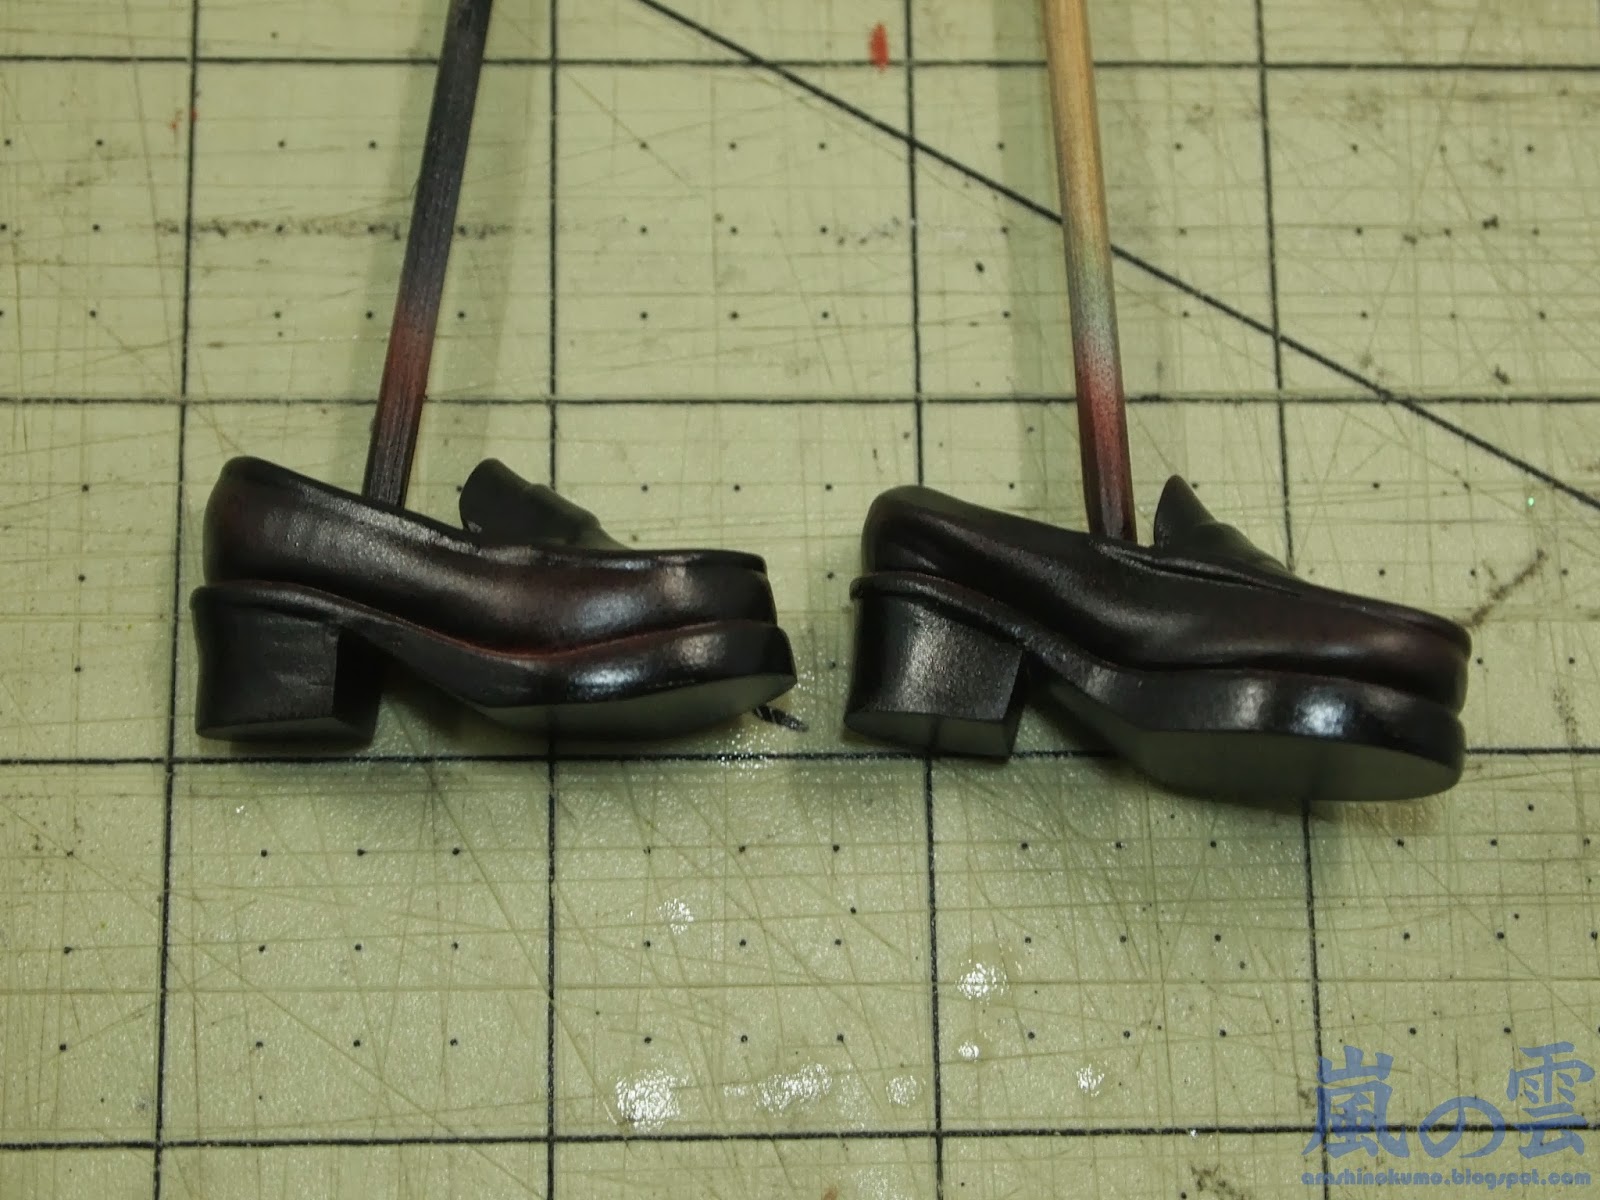
Moving on, the parts of Choun's uniform are next. First with her shoes. Based with a dark brown then shaded with black. The soles of the shoes are also black.

The skirt and socks are in black, her blouse is white with a tan vest and a red ribbon. For the stripe on her skirt, I had to mask and paint one stripe first and then mask and paint the other stripe later.


For the hands, I glued them together before painting to make them seamless. The hand that held the katana is open enough to allow the handle to be pushed in place. That's why I had to place the handle in the hand first and apply the gold colors details after.


As for the hand that held the scabbard, gluing the two parts of the hand together doesn't have enough room to push the scabbard in place. So I decided to cut the fingers off before gluing the glove together. This allowed me to put the scabbard in place with the glove already in one piece.

With the hands done, the katana can be assembled prior to assembling the whole kit.

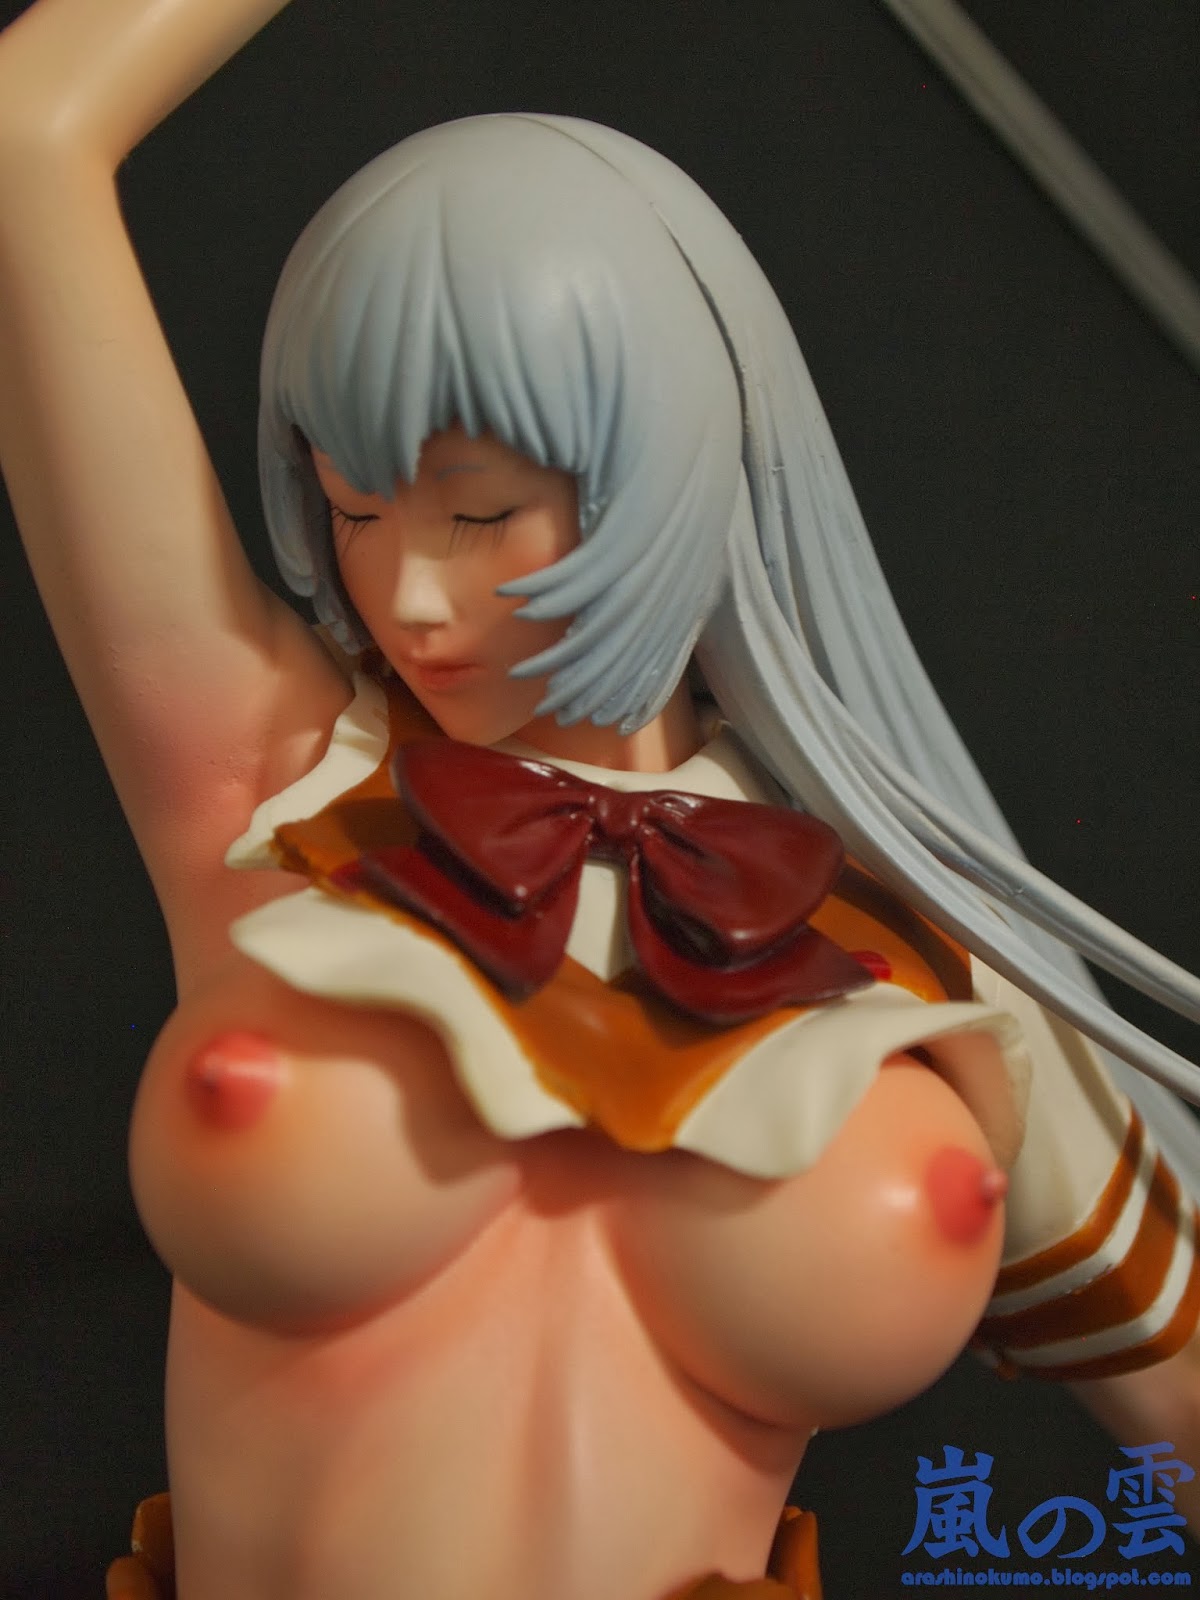
Now that nearly the whole kit is done, time to work on the two faces and the eyes.


And just like the other two kits from this series, I added false eyelashes.

After a quick layer of top coat, the kit can now be assembled. Starting with the legs.


With the legs done, they can now be attached to the body followed by the hands.


Next, her blouse is attached and one of the faces is put in place. Followed by her sideburns, the back of the hair and finally the bangs.


The skirt simply snaps in place and the kit is finished.

Here are a few images of the completed kit. More photos in the gallery.


No comments:
Post a Comment